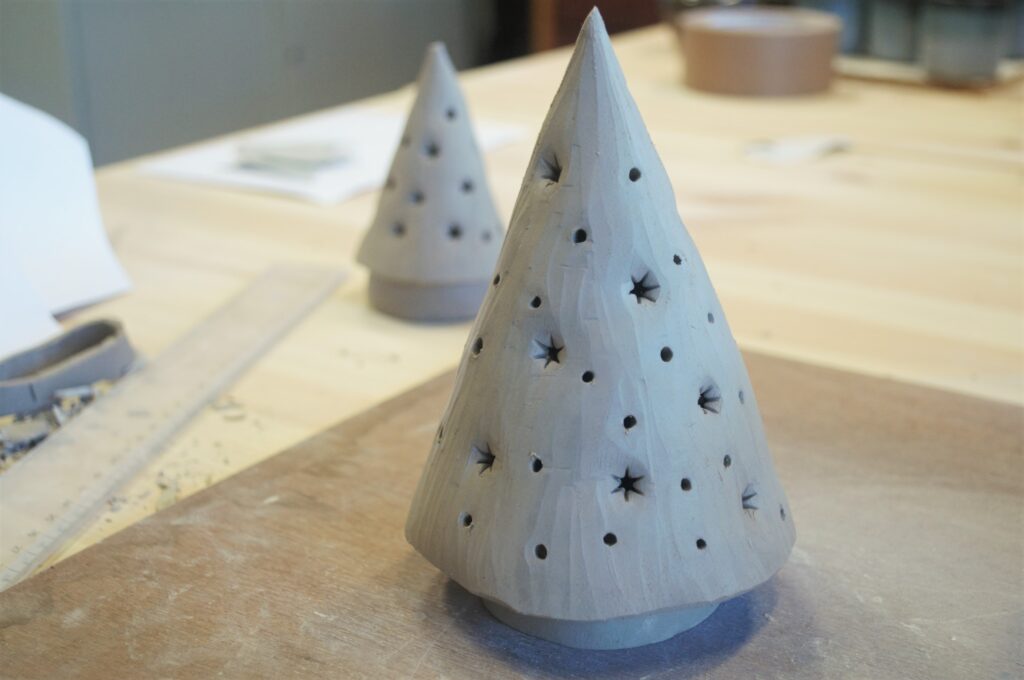
Welcome to my very first instruction blog for kitchen table ceramics! During our ongoing “evening lockdown” I want to share something for everyone to get crafty with. Turn off Netflix for a night and get to you kitchen table with a cup of hot chocolate and a ball of clay. We’re starting off in festive mode right away: a small Christmas tree in which you can burn a tealight. On my Instagram you can find a quick video of how I made this one myself.
The tricky thing about ceramics is that for tableware, like cups and plates, you need a lot of stuff most people don’t have: a kiln to fire your clay at over 1000°C and specialized chemicals for glazing. Not something you can find in your average kitchen. So for this occasion I have chosen to do simple decorations that can even be made from air dry clay from your average arts and crafts store. As the name says, this clay will just airdry and can afterwards even be painted with acrylic paints. You can you it for many things, but it will never be watertight or food safe. For decorations it’s fine.
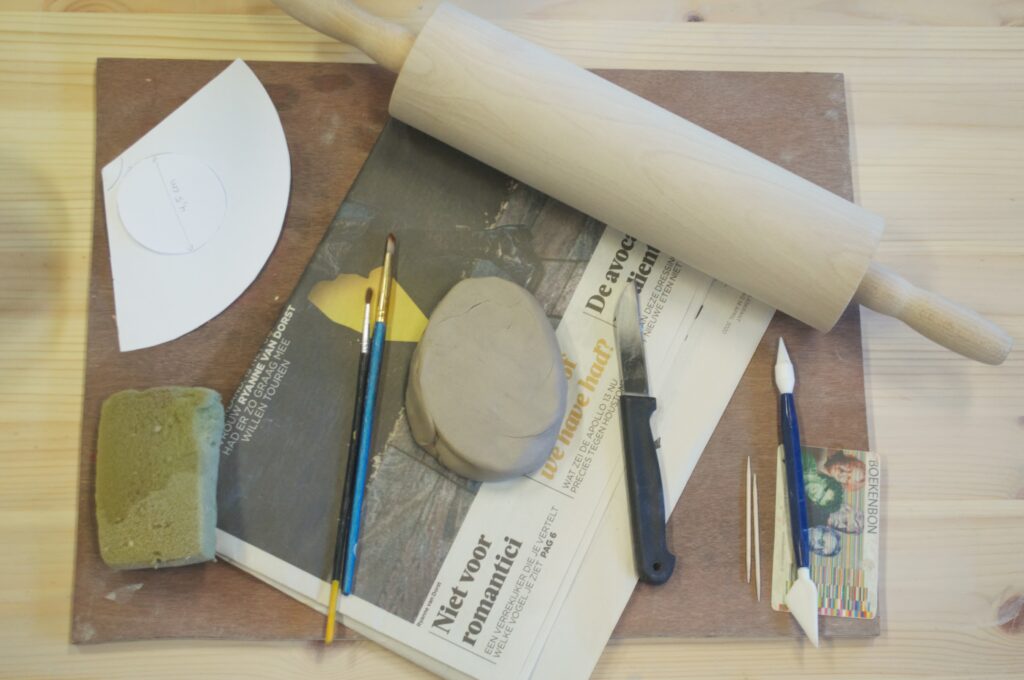
What you will need
- a ball of (air dry) clay
- a large sheet of paper, scissors
- compass or plate
- triangle ruler or a good eye
- cutting board
- old newspaper
- rolling pin
- knife
- brushes
- sponge
- old bank card
- a poking device (like a cocktail pick, screwdriver, nail)
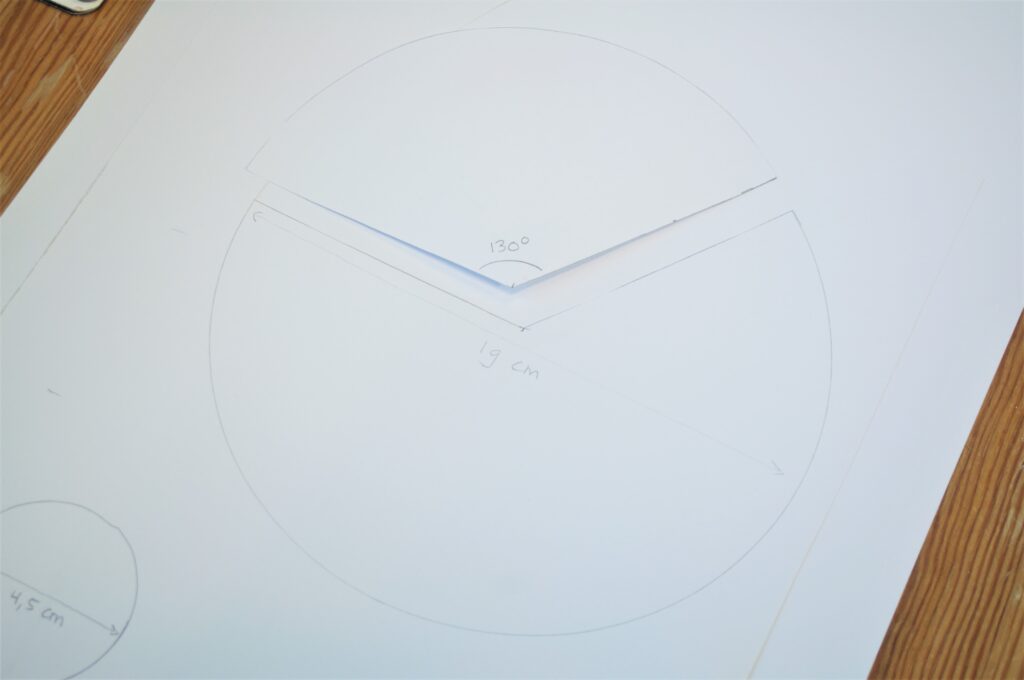
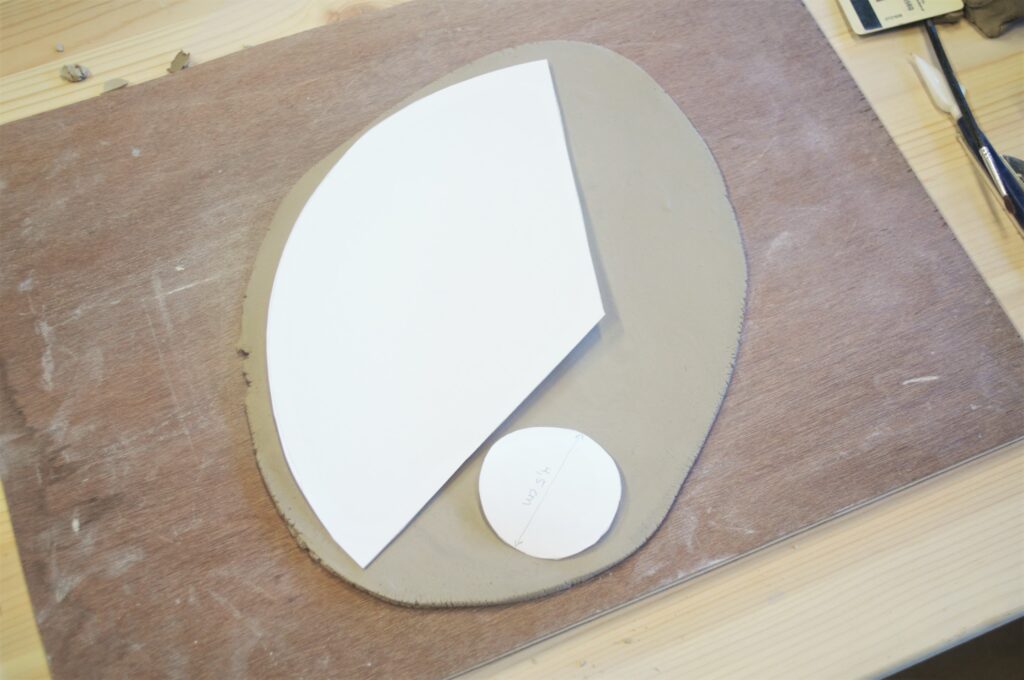
On your sheet of paper, first draw a large circle with a diameter of approximately 19 cm. Cut a section of 130° (or a little over a third) from the circle. Then, draw another circle, with a 4,5 cm diameter and cut this one out too. These are your templates.
Working at a table, it’s nice to use a (cutting) board as your work surface. If your cutting board doesn’t absorb water the clay can get very sticky; you can use an old newspaper between board and clay to prevent this.
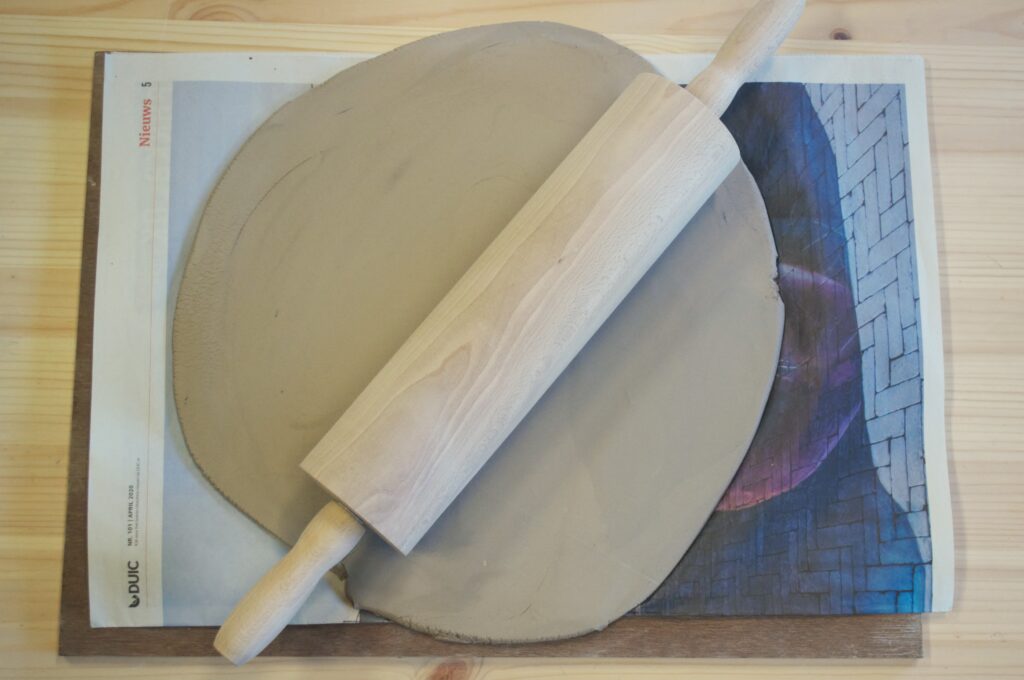
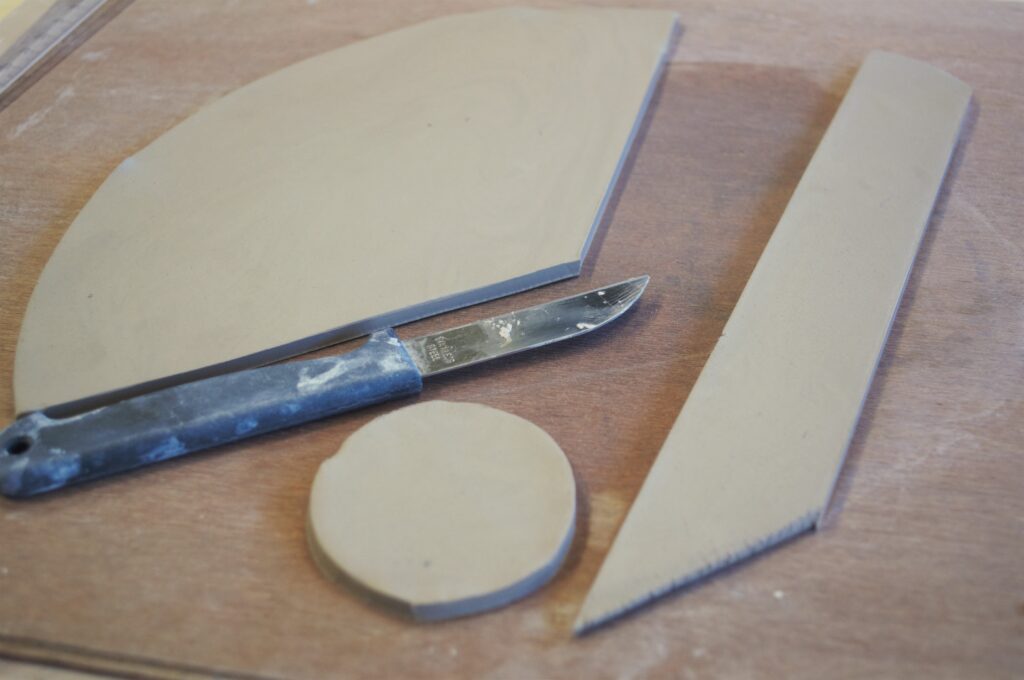
With your rolling pin, roll out an even slab of clay with a thickness of about 4 mm. Place your templates on the slab of clay and carefully cut out your shapes. Besides the large section and small circle you also need a long strip of about 3 cm wide.
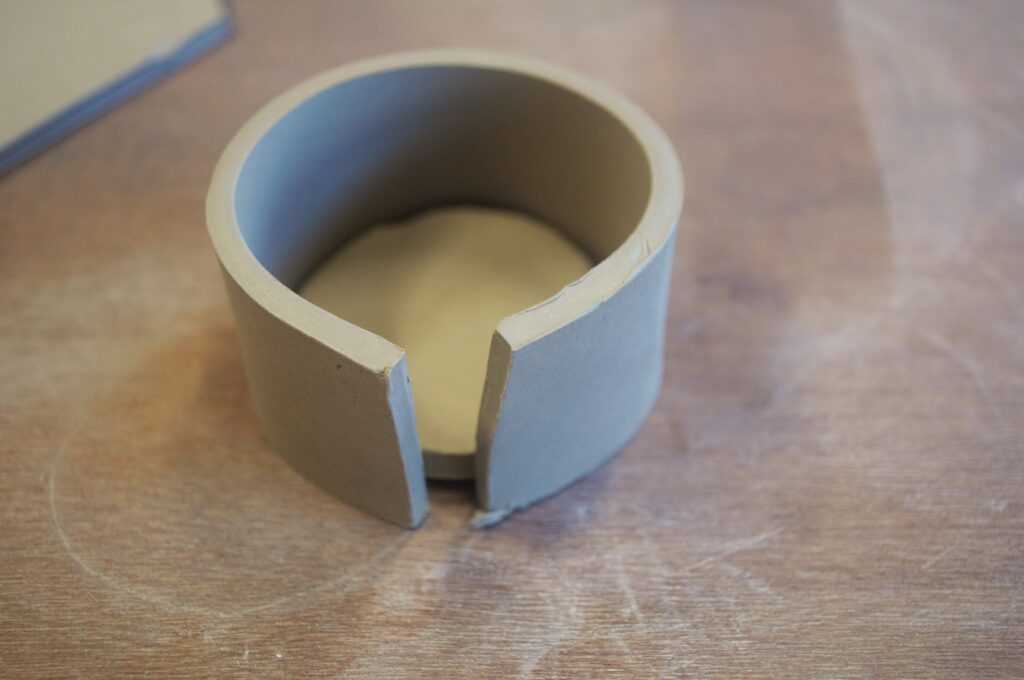
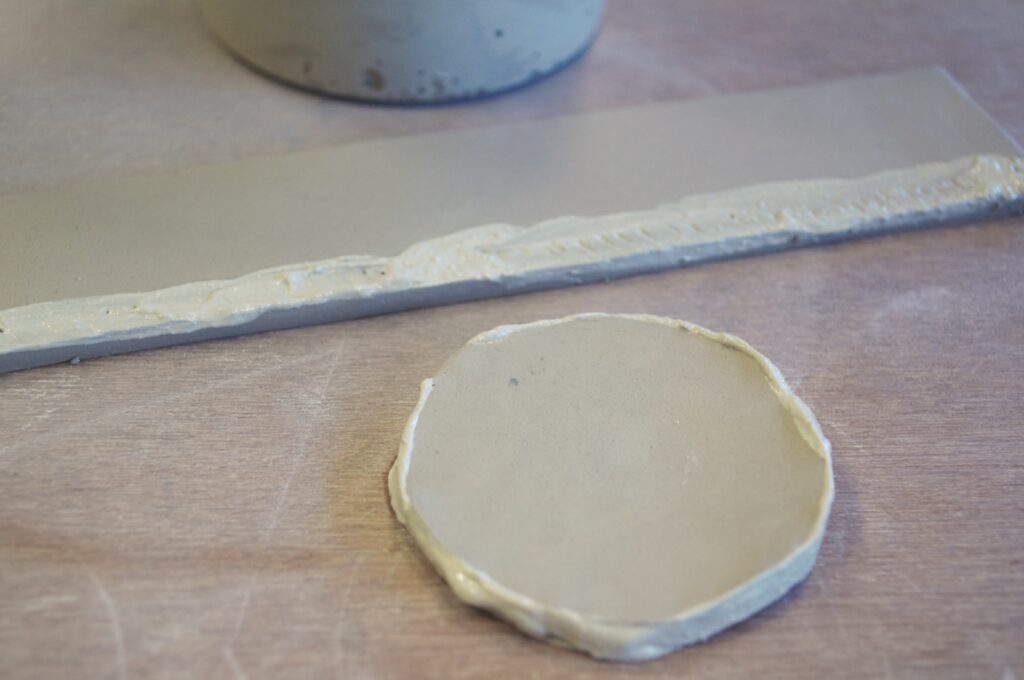
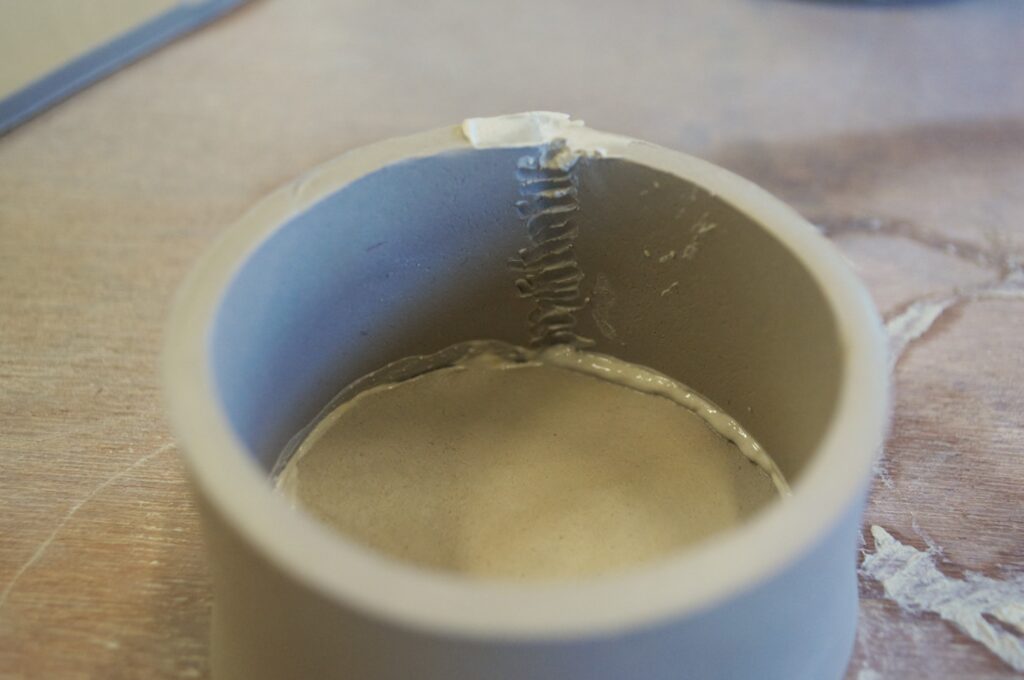
We now start by making the foot of the tree, which will eventually hold the tealight. Cut the strip to size, so it will perfectly fit around the small circle. These two parts need to be carefully stuck together to prevent cracks after drying. With “regular” clay you can use slip (liquid clay) to do this, but with air dry clay you just really need to moisten the rims to make them stick. Use a knife and your fingers to make the seams completely invisible: you can scrape clay across the seam with a knife and smoothen this out again with a wet finger. Don’t forget to do the inside and underside of the cup as well.
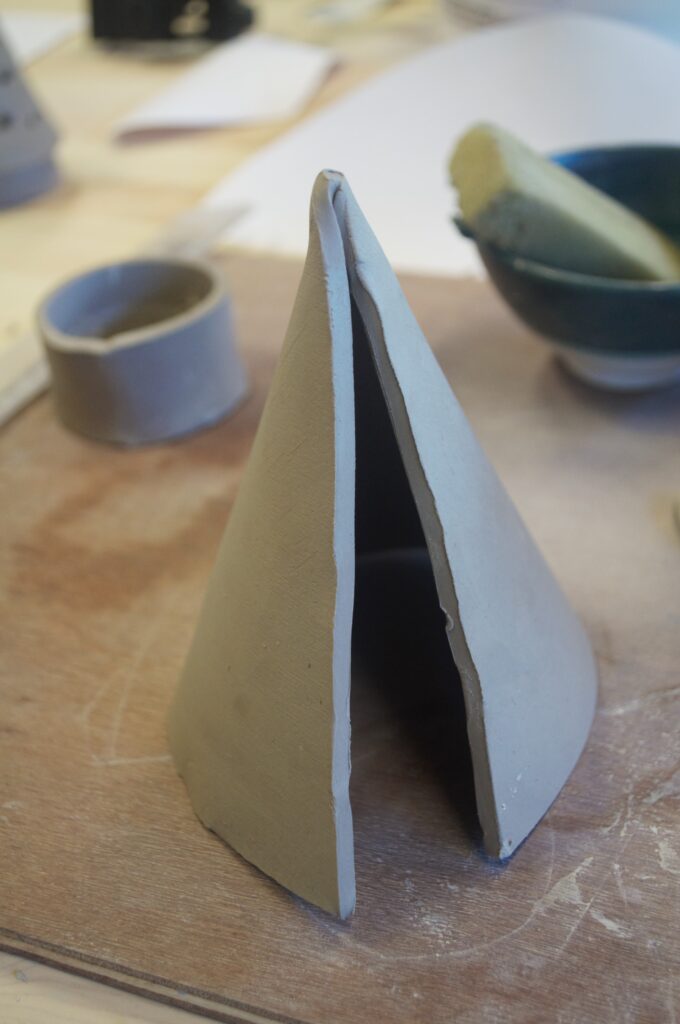
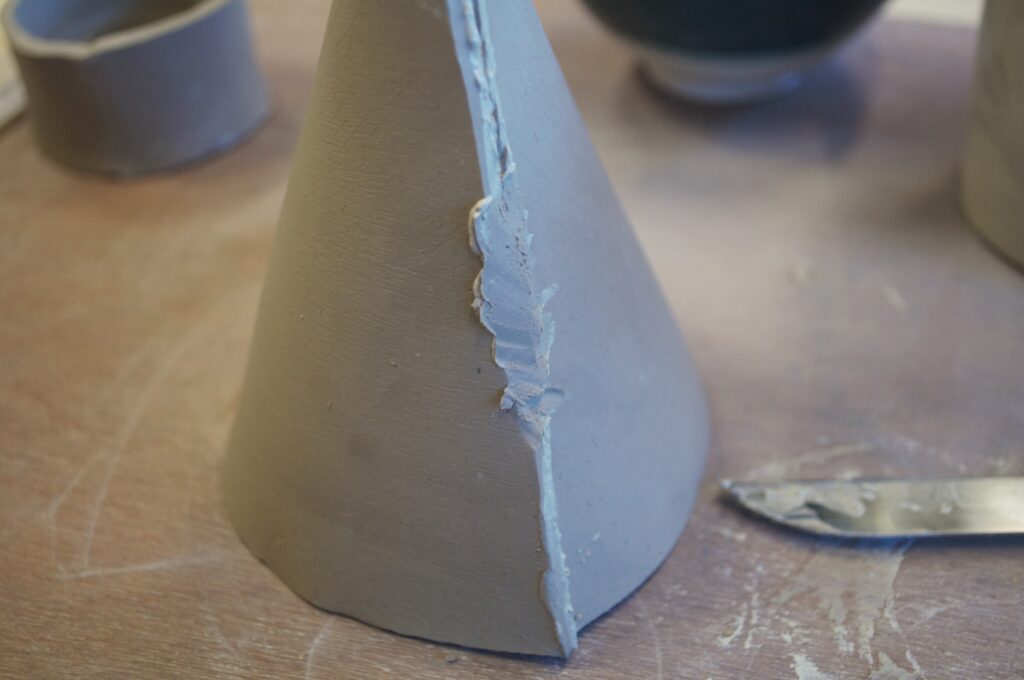
You can now put the cup aside to let it dry for a bit, it’s now time to fold the tree. Take your big section of clay and carefully fold this into a cone. To get rid off the seam it’s easiest to place the rims against each other at a 90 degree angle. Make sure to wet these as well. There will now be an angular seam, which needs to be just as round and smooth as the rest of the cone. With a knife you can spread the excess clay across the seam, which will smoothen it out as well as seal the seam. Do the same on the inside of the cone.
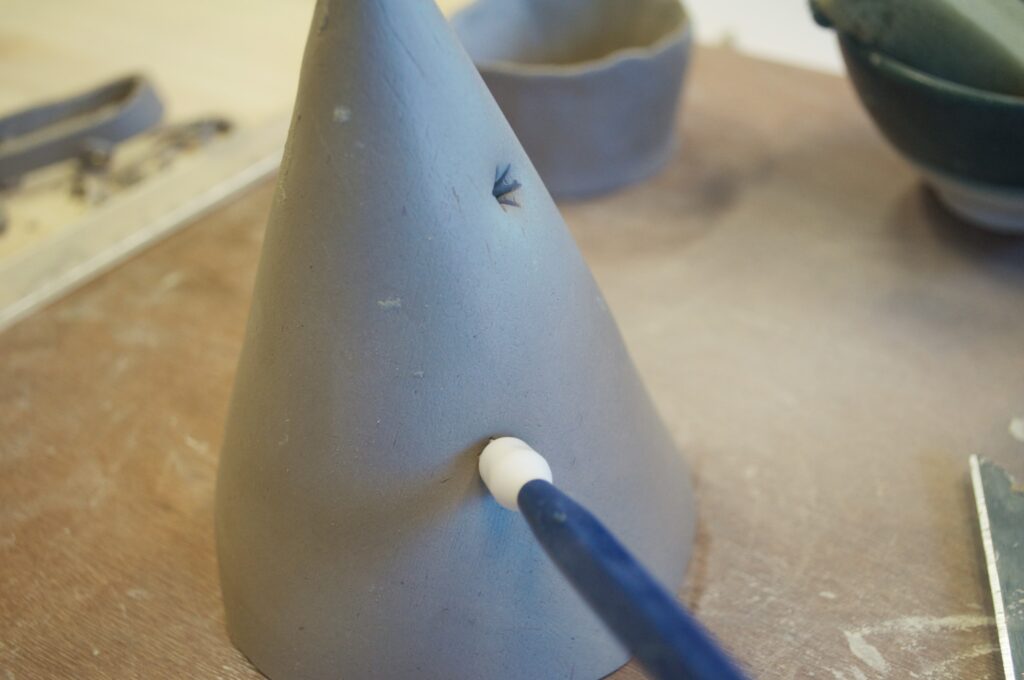
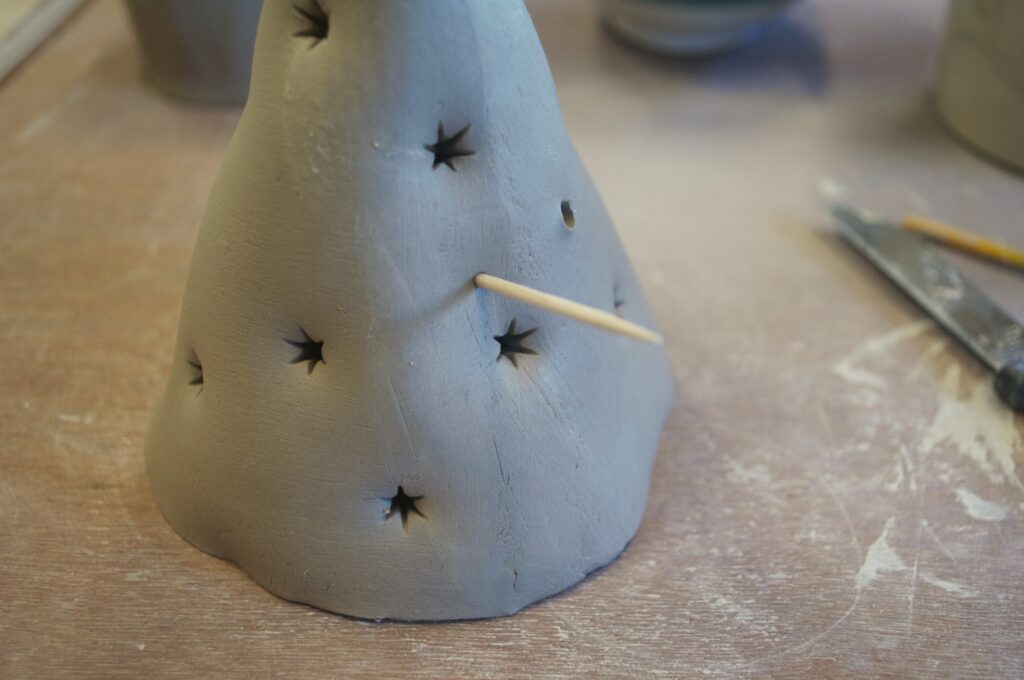
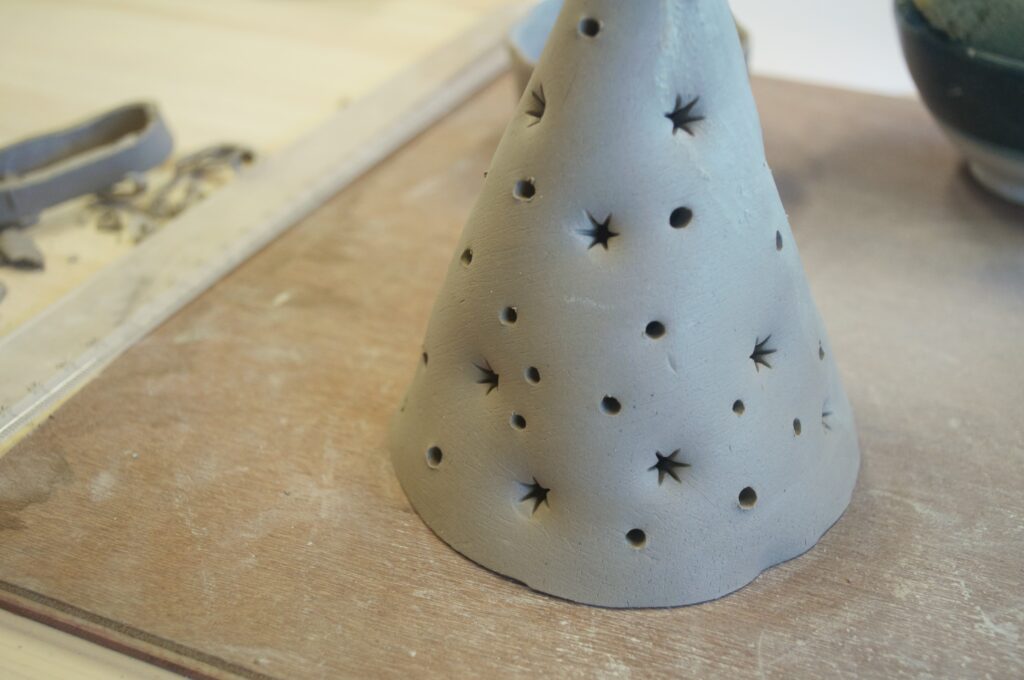
Now we can get to decorating! If you want to burn a tealight inside your tree you need to make sure there’ll be enough oxygen, so you need to poke a lot of holes. You can use anything you’d like to do this. I used a cake decorating tool to make the starshaped holes, but you can achieve similar results with a screwdriver. I also used a cocktail pick to create simple round holes. You can really use your own creativity with this! Look around in your kitchen drawers or a tool box, anything is possible. You can always use a piece of leftover clay to try it out first.
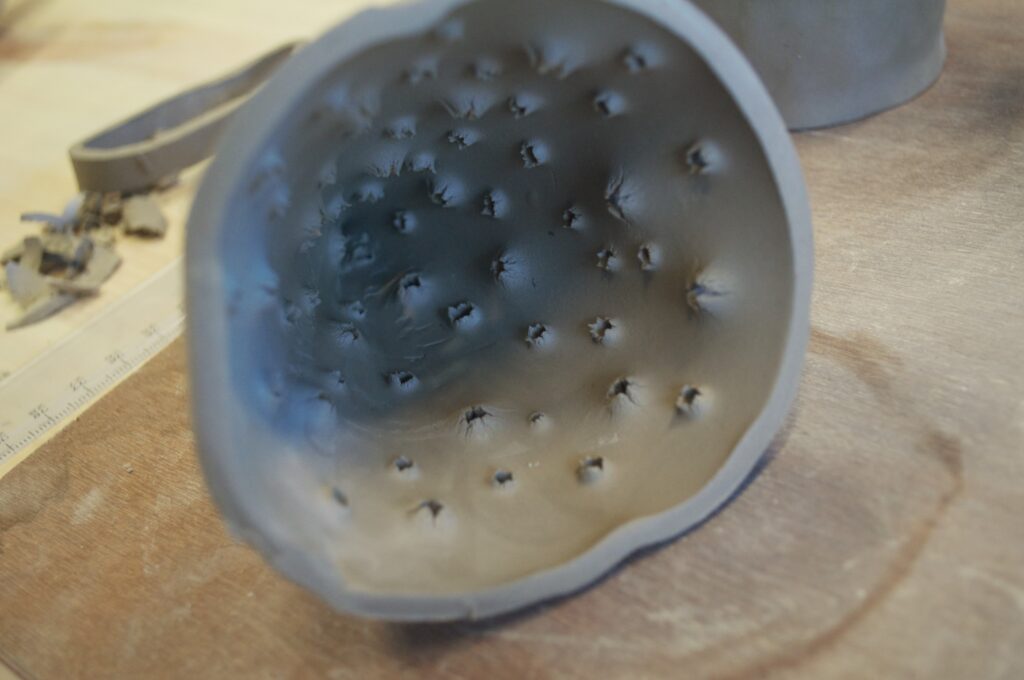
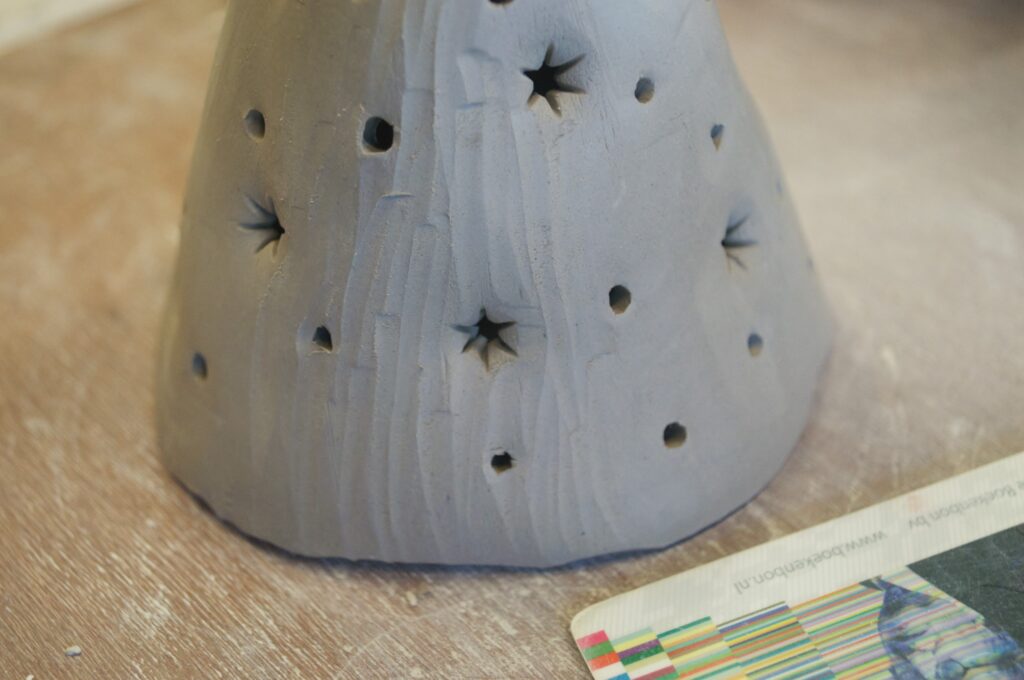
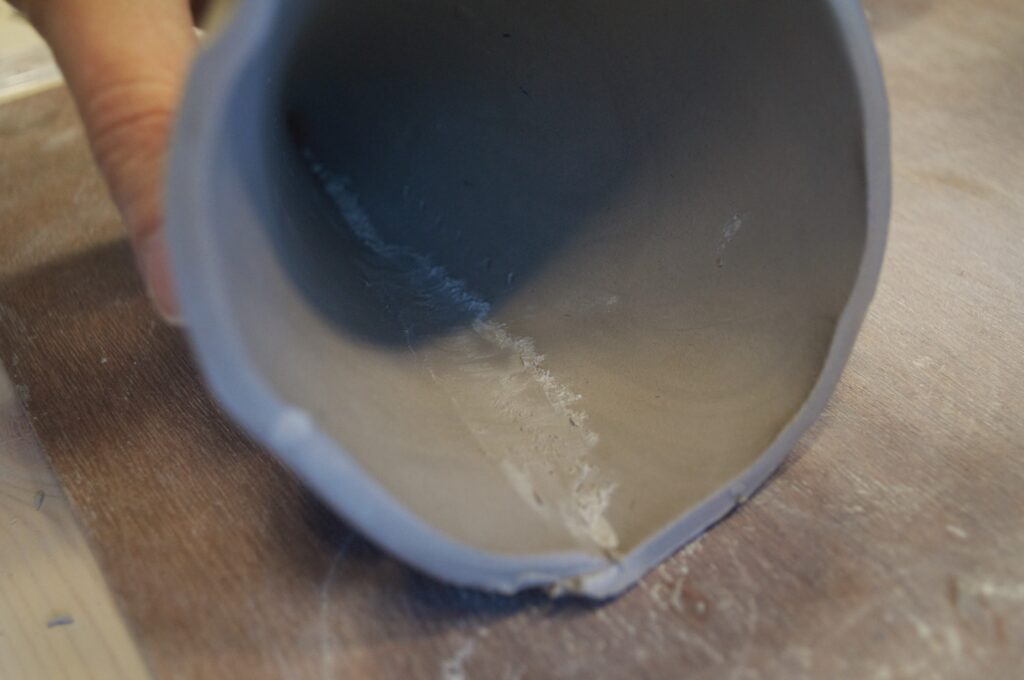
When you’re finished poking holes the inside will look like a mess that will slice open your fingers once it’s dried. You can cut away the excess clay with a knife. This will clean it up and slightly open up your holes (more oxygen!). To finish, you can smoothen the outside of the cone, or give it a bit of a rough texture with, for example, the corner of an old bank card.
And then, just let it dry and you’re done!