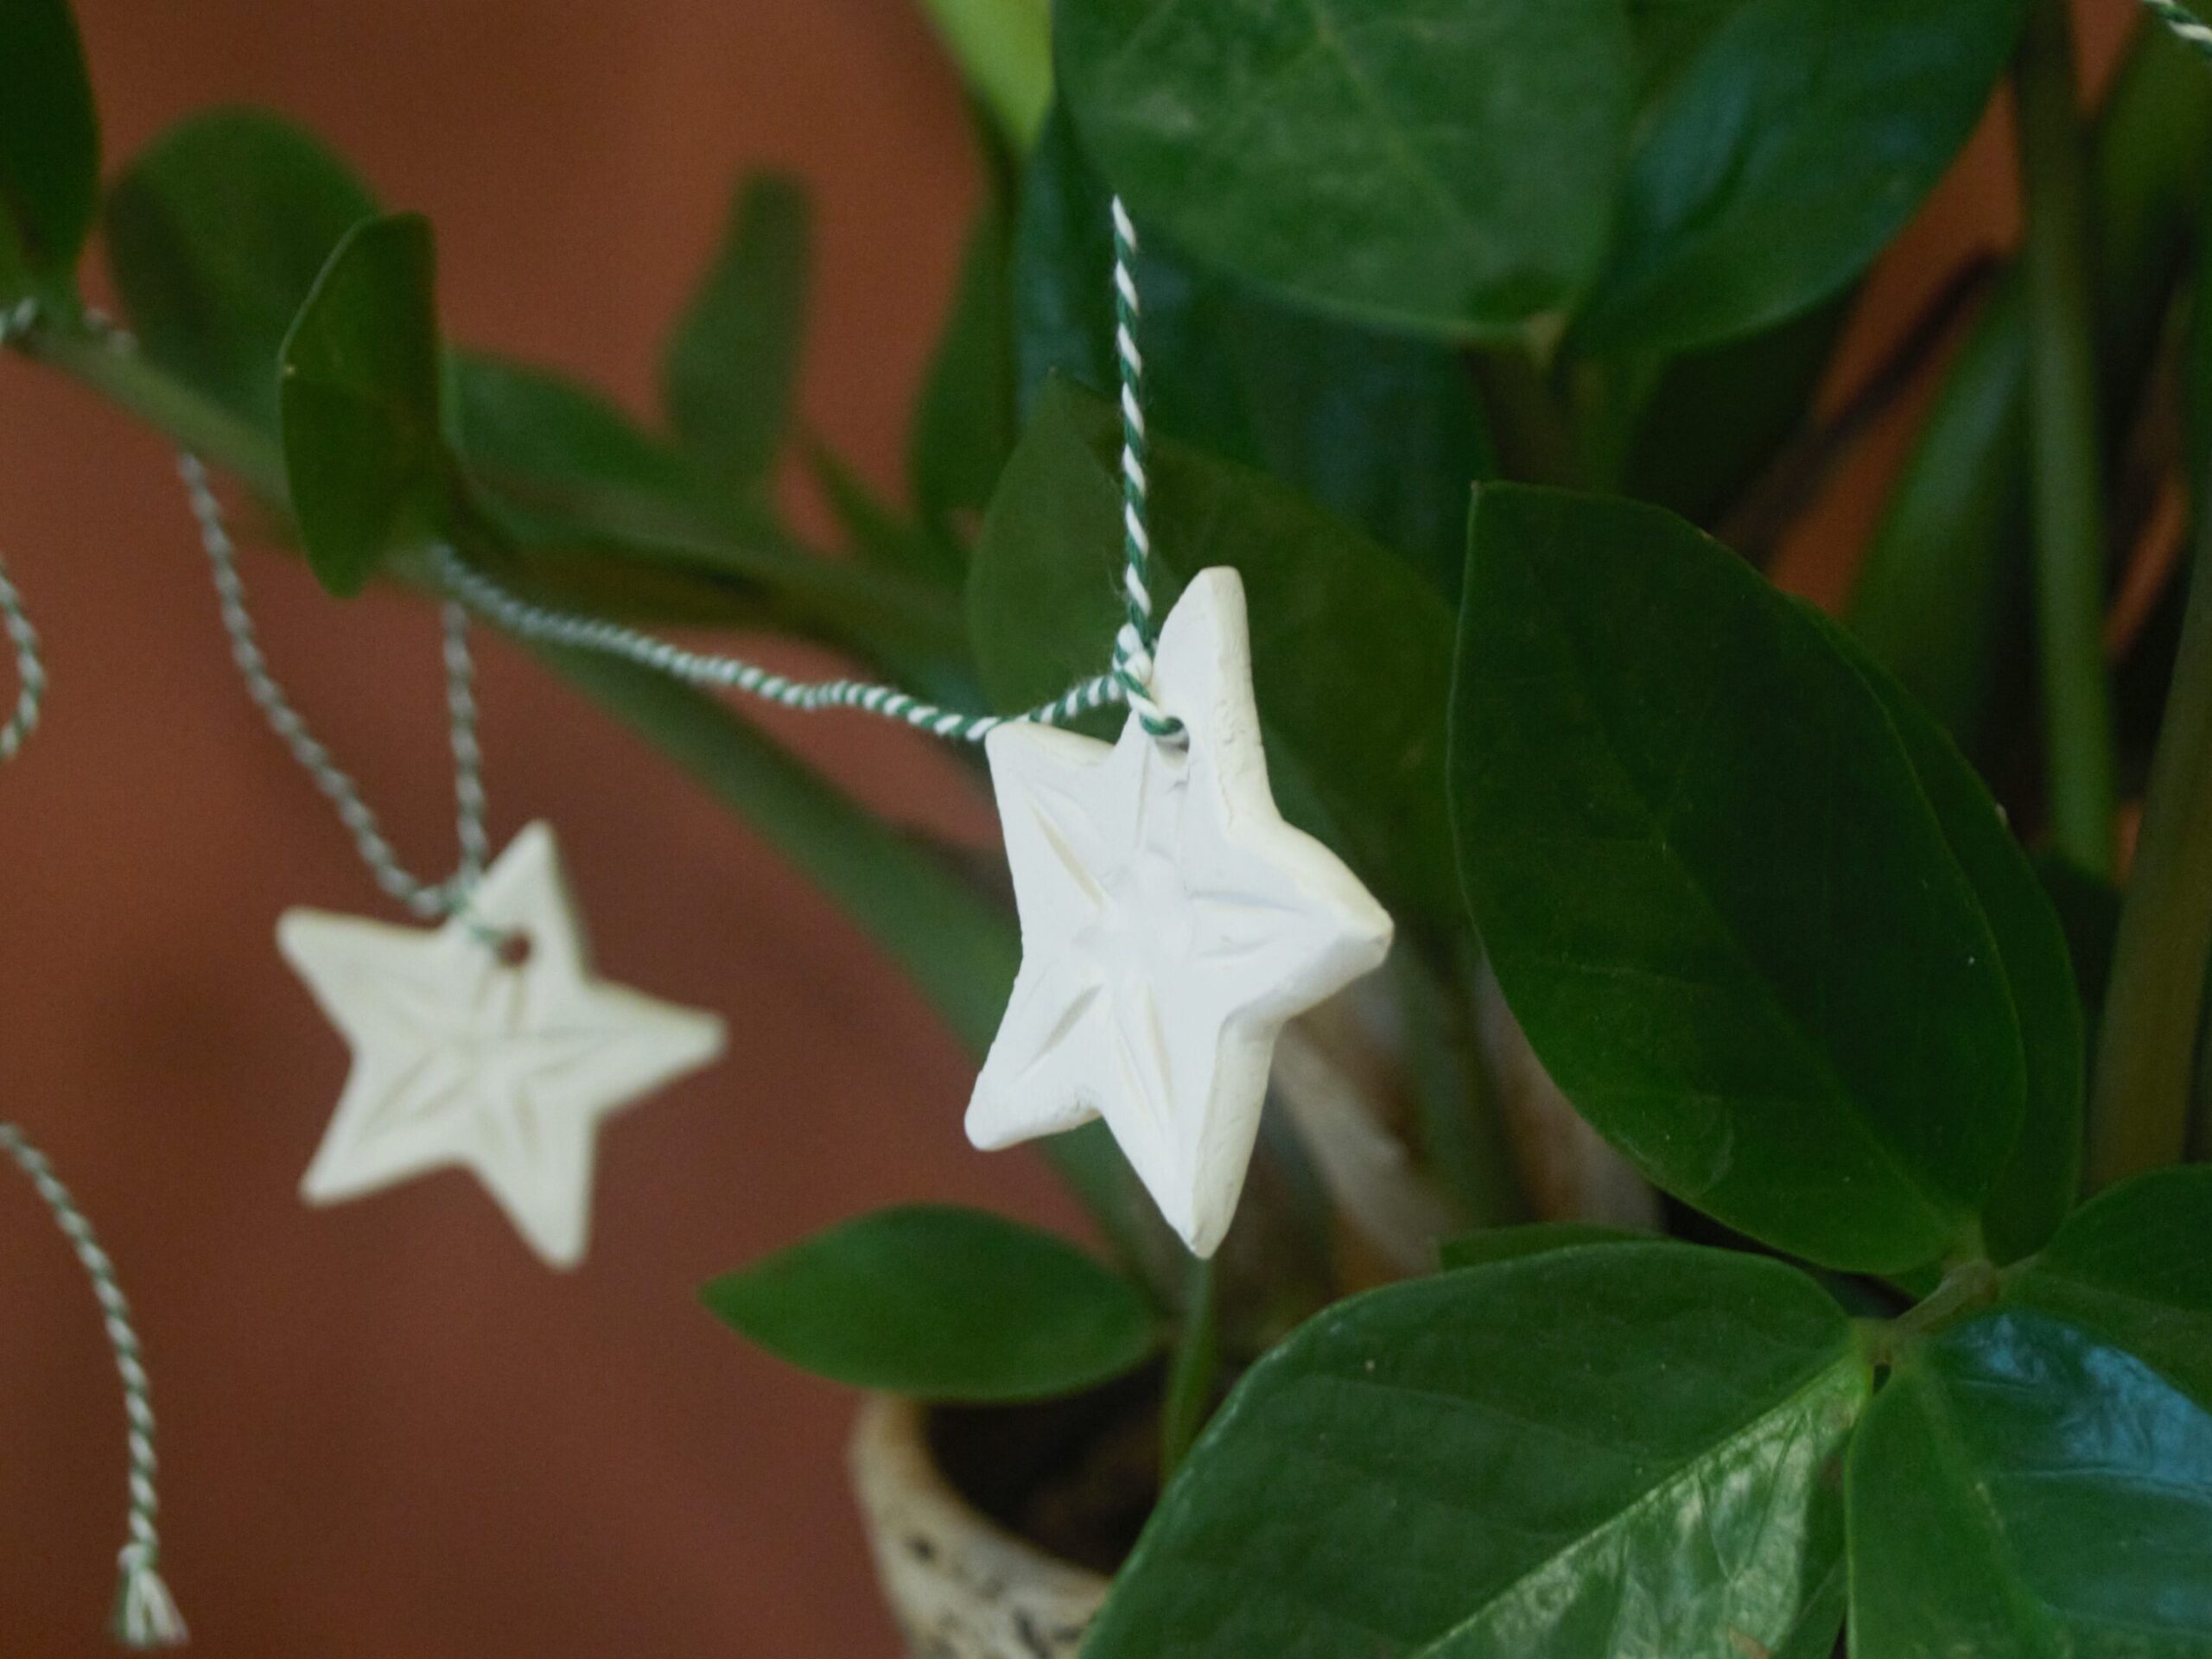
Nothing as festive as having a handmade garland with stars in your Christmas tree (or house plant). In this blog I will explain how you can make this in a few simple steps and which techniques you can use to make it entirely your own in a unique way. The garland is pretty easy to make (you can get your kids involved), but you can still use it to release your own creativity. You can watch a quick overview of the project on my Instagram feed.
For this project you can use air dry clay (so there’s no need to fire it). As the name says, this clay will just airdry and can afterwards even be painted with acrylic paints. You can you it for many things, but it will never be watertight or food safe. For decorations it’s fine.
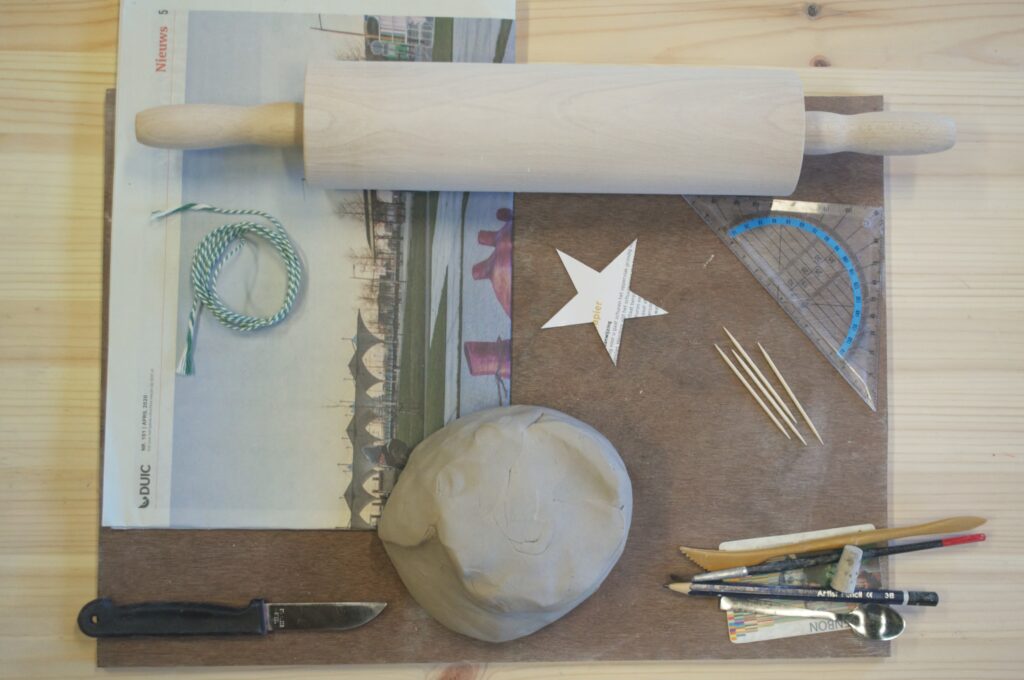
what you need
- ball of (air dry) clay
- starshaped template
- (cutting) board
- old newspaper
- rolling pin
- knife
- old bank card
- cocktail pick
- random tools
- some string
Before getting started with the clay you will need a template. I have drawn a star on a piece of water resistant cardboard of approximately 7 cm. If you want you can also use a starshaped cookie cutter. This time I chose to do stars, but of course you can choose anything you want. Maybe you prefer to make baubles, or easter eggs. Anything is possible.
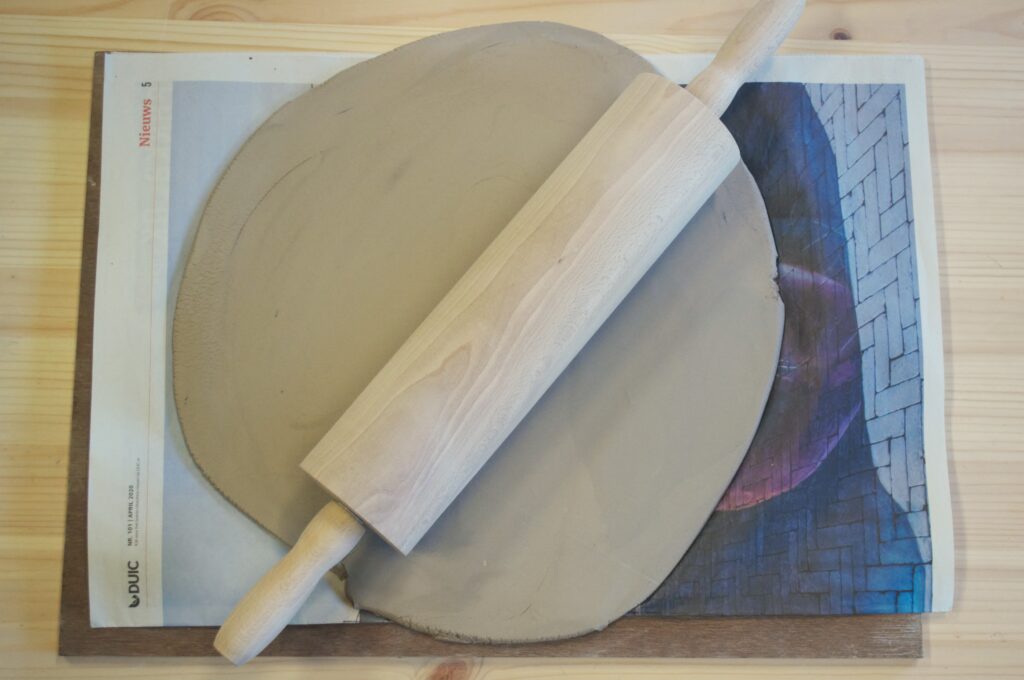
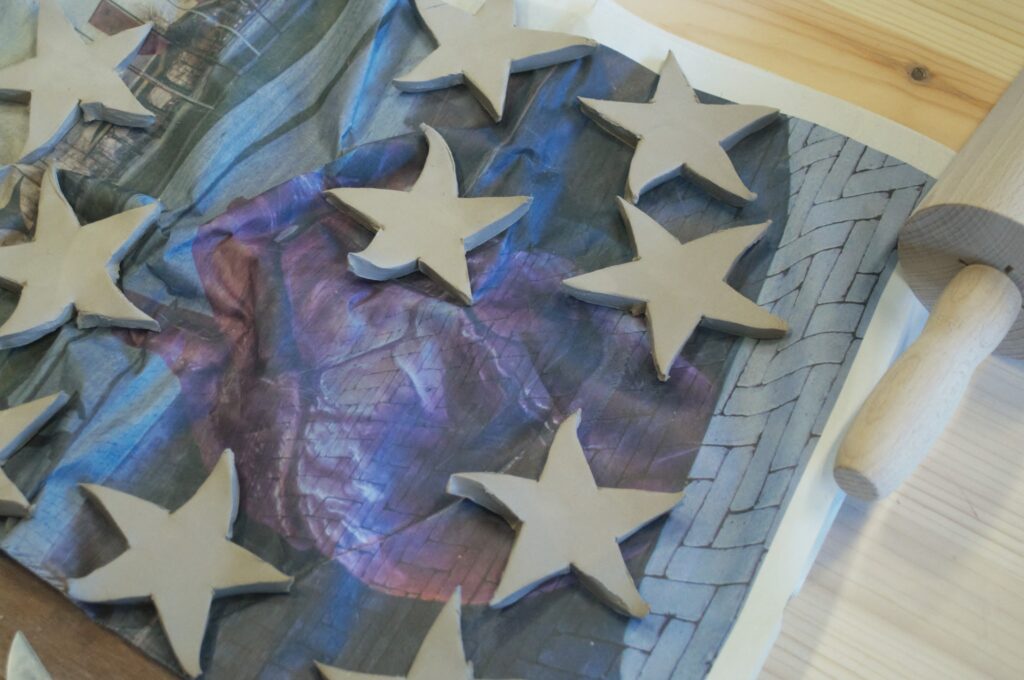
Use the rolling pin to make an even slab of clay, of about 5 mm thick. If you use a cutting board that doesn’t absorb water the clay will stick to the surface of the board and will loose it’s shape when you try to take it off. An old newspaper between the clay and cutting board will prevent this problem.
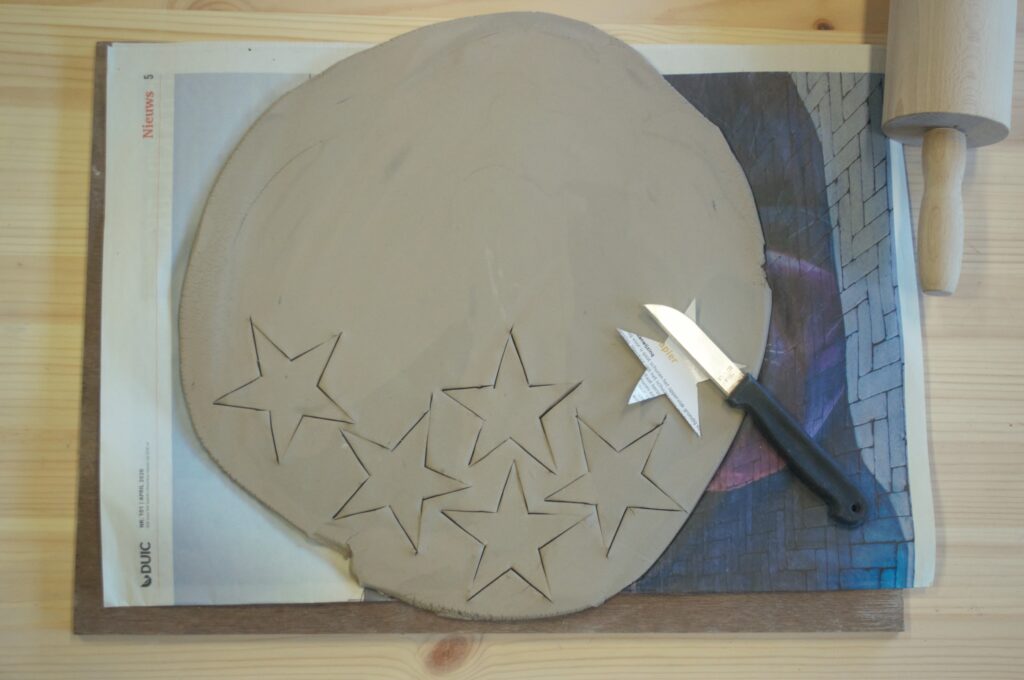
Now use your template (or cookie cutter) to cut the stars in the slab of clay. Then carefully remove the excess clay. You may slightly bend the points of the stars, but that doesn’t matter at this point. You can still clean this up as much as you want. You can even out any irregularities from the cutting with your fingers or smoothen out the edges by softly pressing against them with an old bank card.
I chose to flatten out my stars individually with the rolling pin, in two directions. By doing this all stars are slightly different in shape and size, which will give the garland a more playful look. If you choose to do this it’s best to smoothen out the edges after using the rolling pin for the second time.
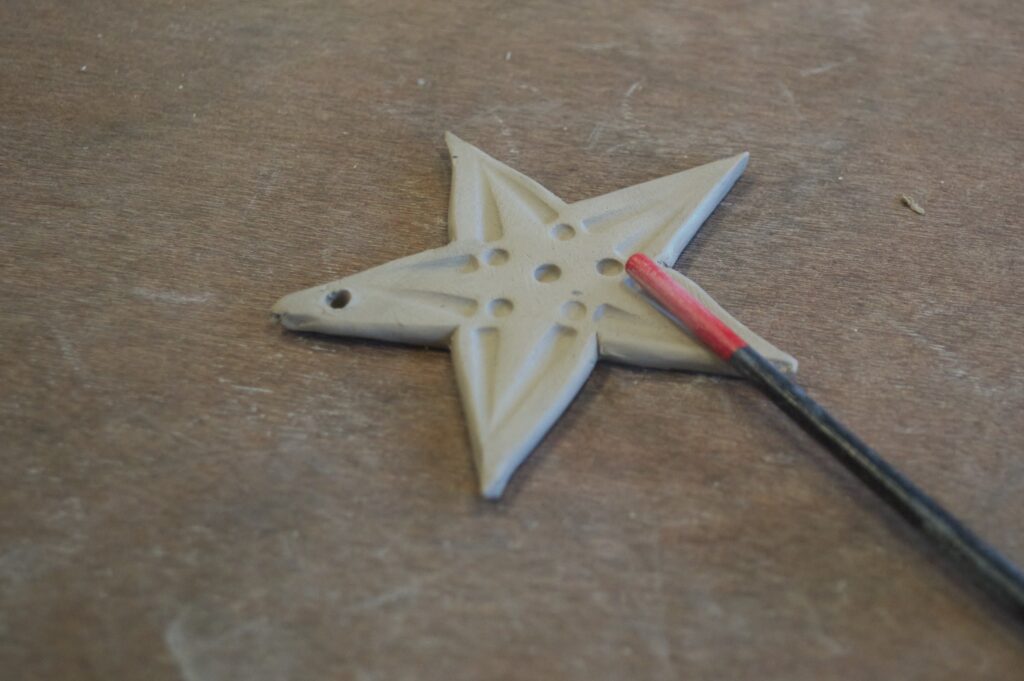
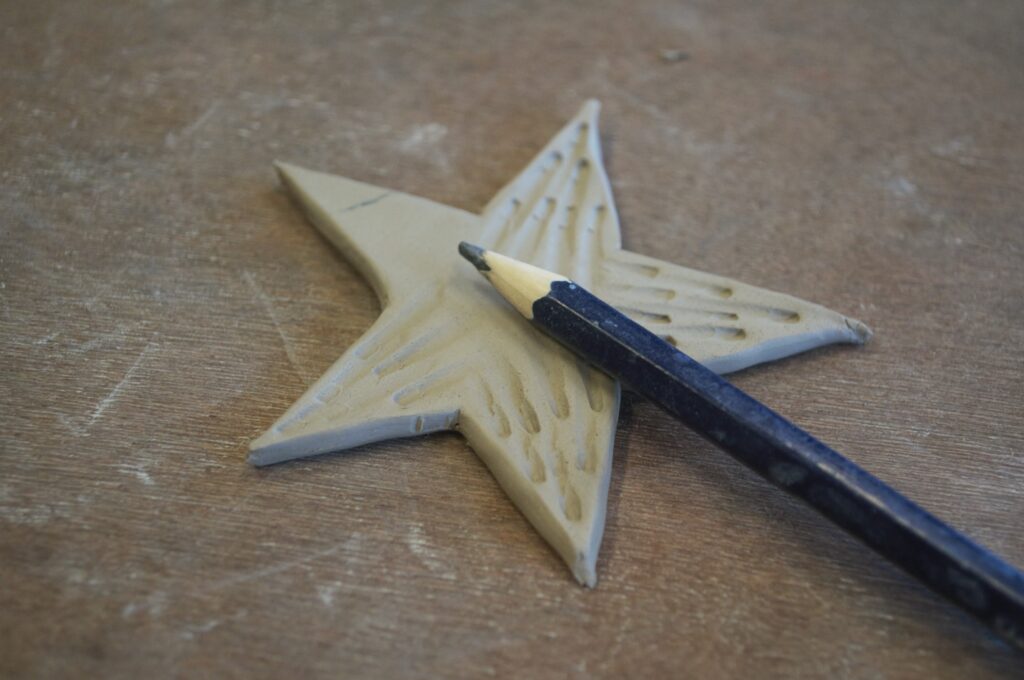
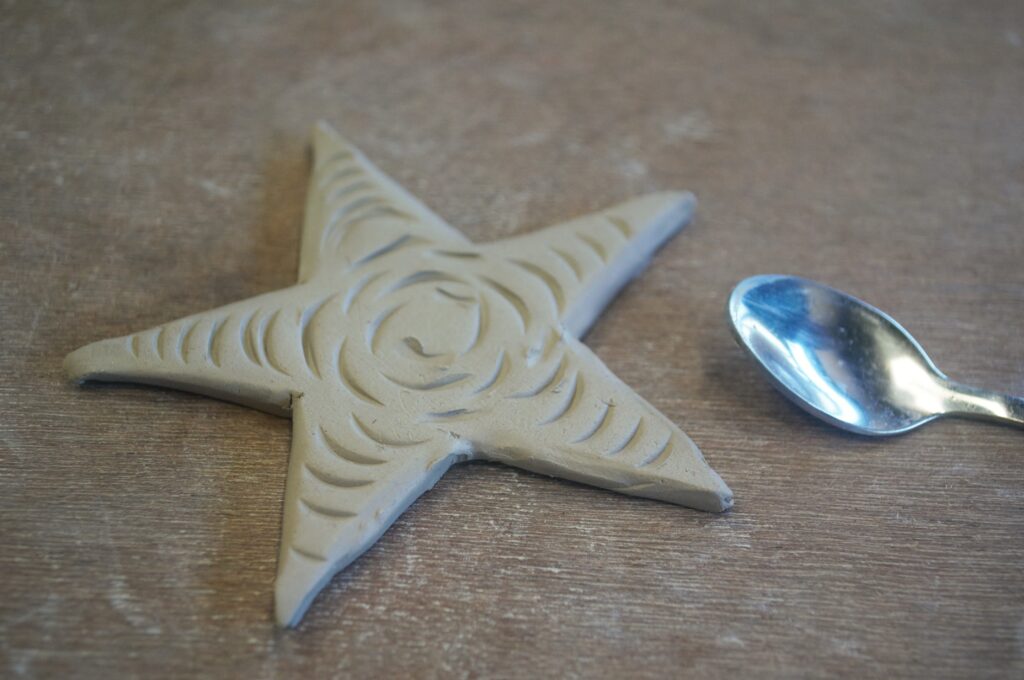
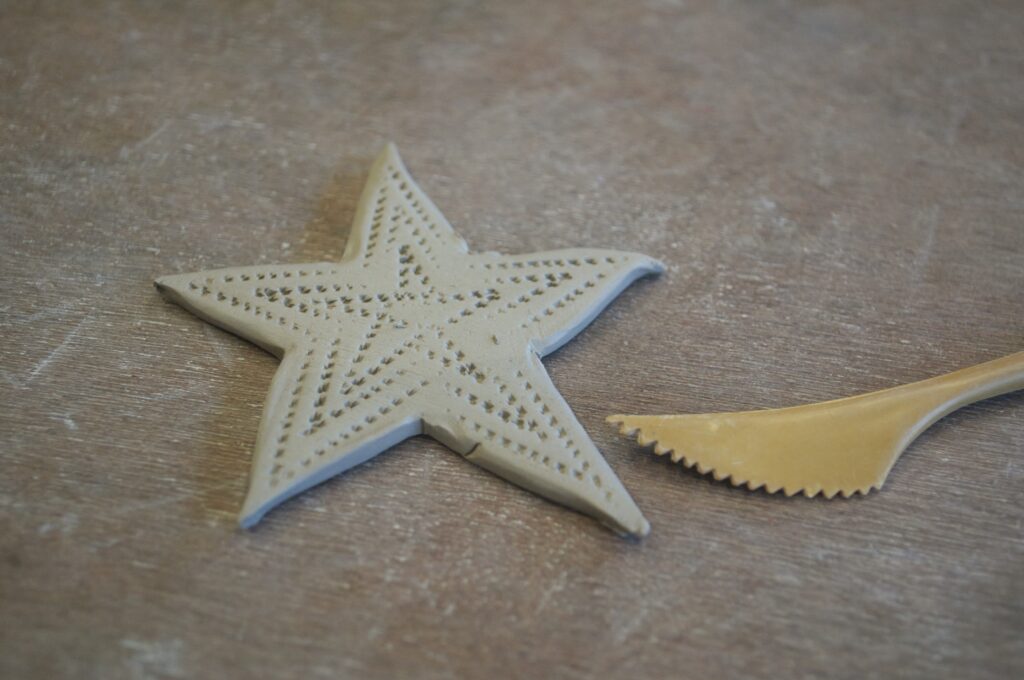
Now you’re at the stage to completely unleash your creativity. Remember: anything can be a tool. Look in your kitchen drawers, tool box or craft corners and try to find things to use to make interesting textures on the surface of your stars. You can first experiment on a piece of left-over clay or just try it on your stars right away. In this case, I used the back end of a brush, the point of a pencil, a small spoon and a serrated knife. You can decide to decorate all stars in the same pattern or vary instead.
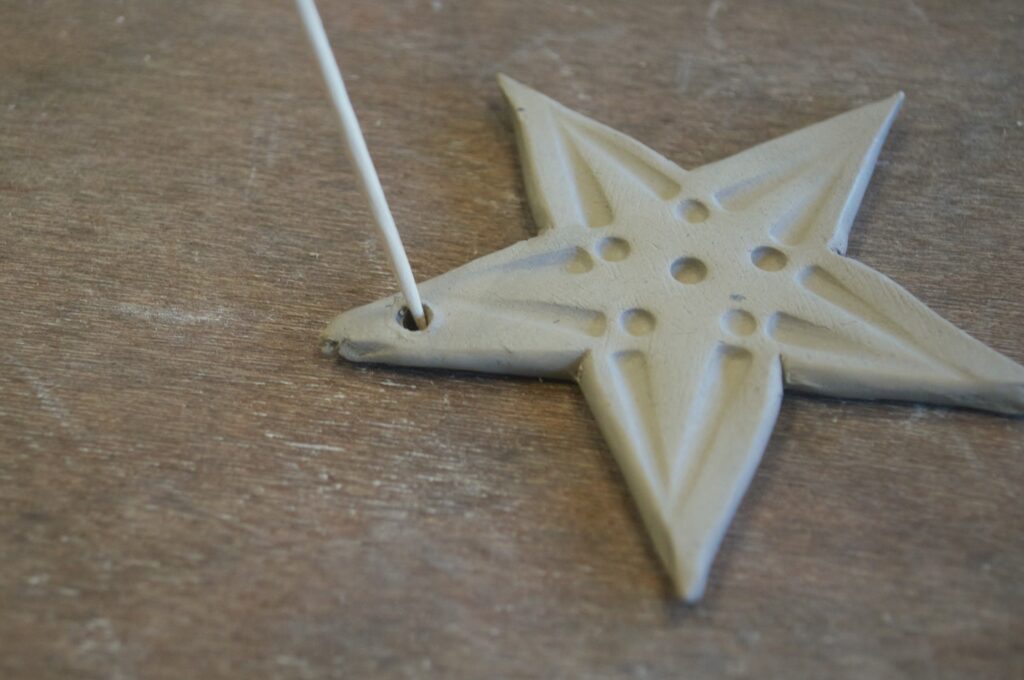
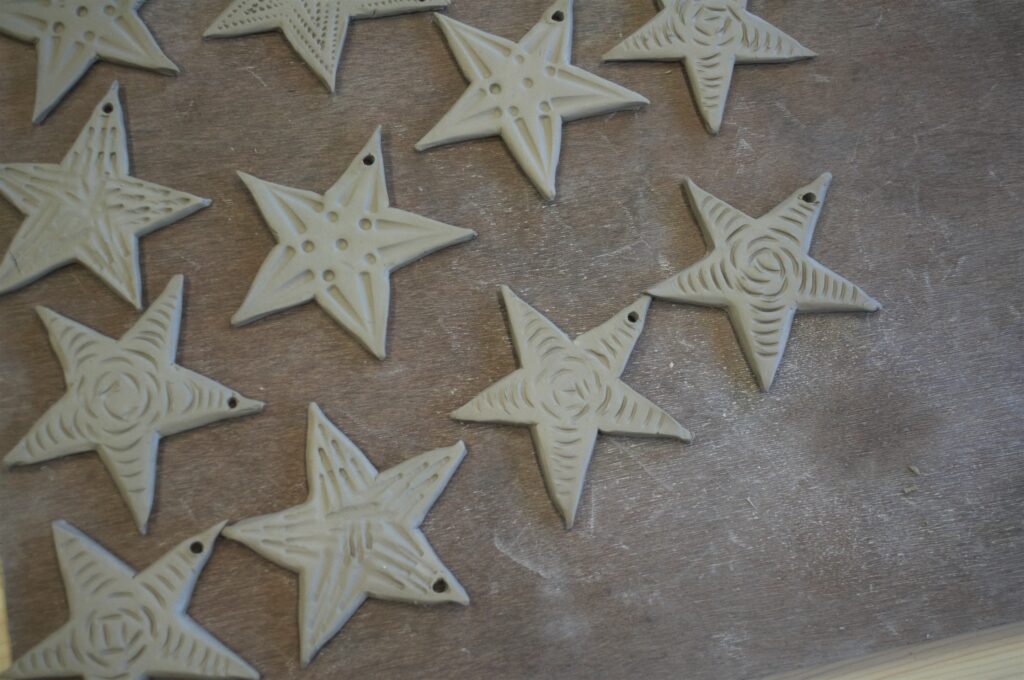
When you’re finished with the decorations pierce a hole in one of the point of the stars with a cocktail pick. Smoothen the edges of the hole on both sides of the star. Now you can just let them dry on a flat surface. When they’re all dry you can string them up and you’re done!
Are you looking for more inspiration to get started with clay? Check out my other blog posts!