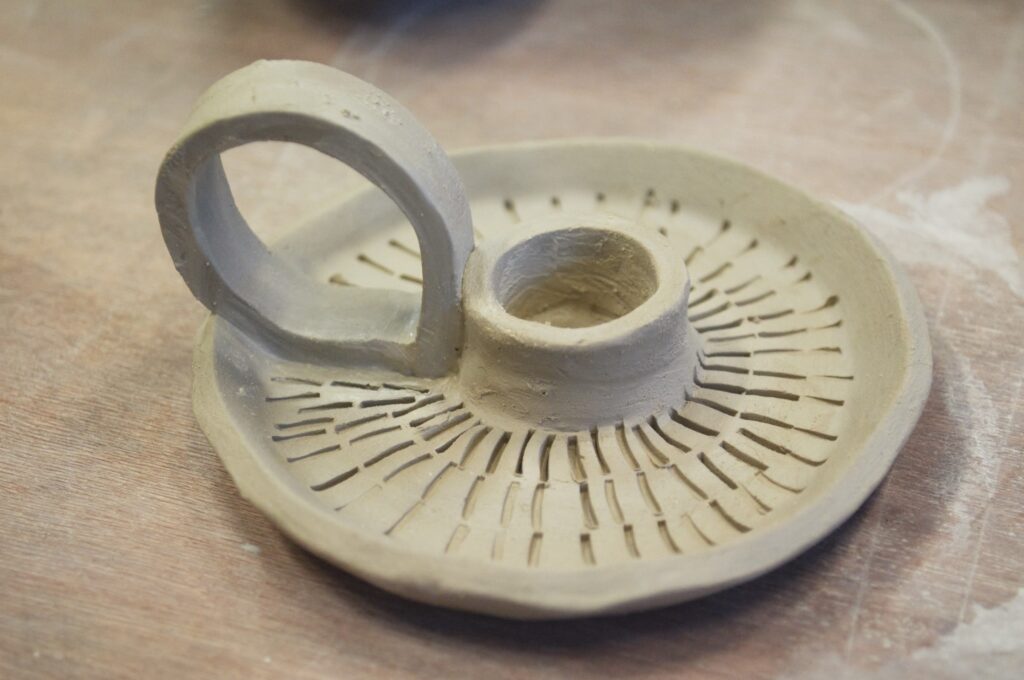
Winter is a time for candles, of course. In this instalment of kitchen table ceramics I will explain how you can make your own candlestick holder, in a few simple steps. This will fit a regular dinner candle; great for your Christmas dinner table, but just as good during the entire winter period. You can watch a quick overview of the project on my Instagram feed.
For this project you can use air dry clay (so there’s no need to fire it). As the name says, this clay will just airdry and can afterwards even be painted with acrylic paints. You can you it for many things, but it will never be watertight or food safe. For decorations it’s fine.
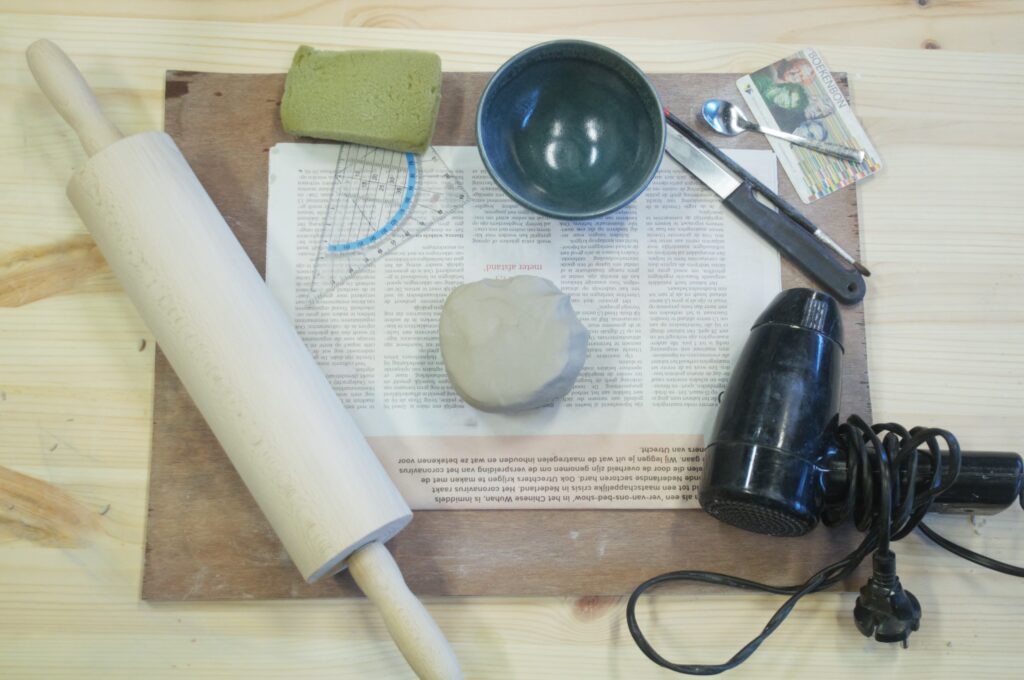
what you need
- ball of (air dry) clay
- round template
- (cutting) board
- old newspaper
- rolling pin
- knife
- ruler
- blow dryer
- sponge
- brush
- random tools
What size of round template you use is up to you. You will need it to cut out a round base for you candlestick holder. I chose to use a small bowl. If you want to make a real statement at the Christmas table you can choose to make a large base and create multiple holders on one base. You can follow the instructions in this blog to do so, you just need to do some extra work.
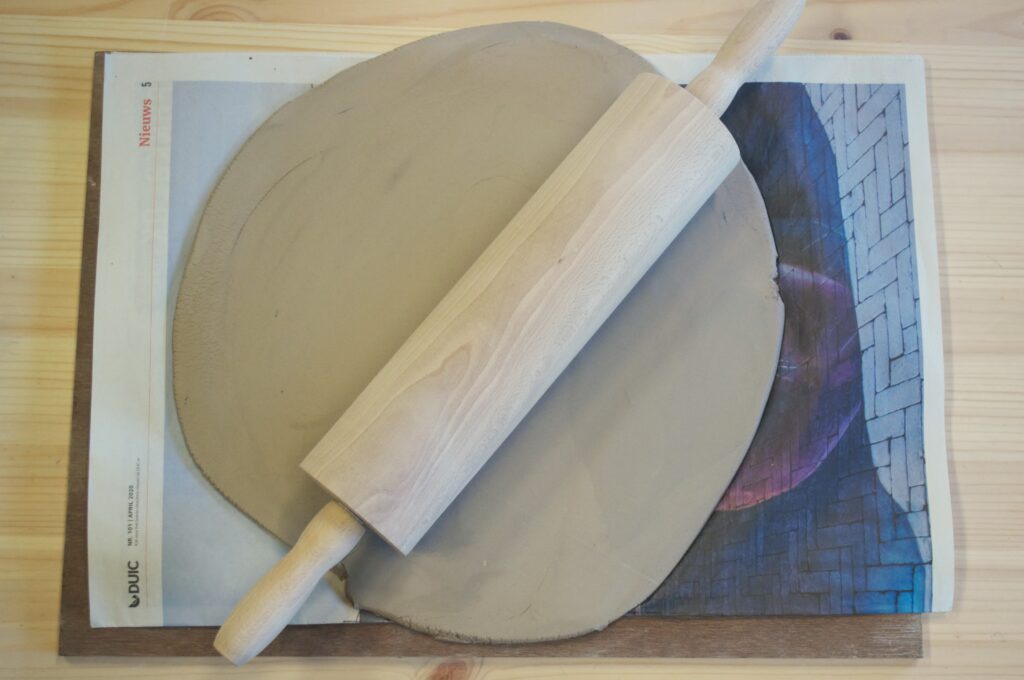
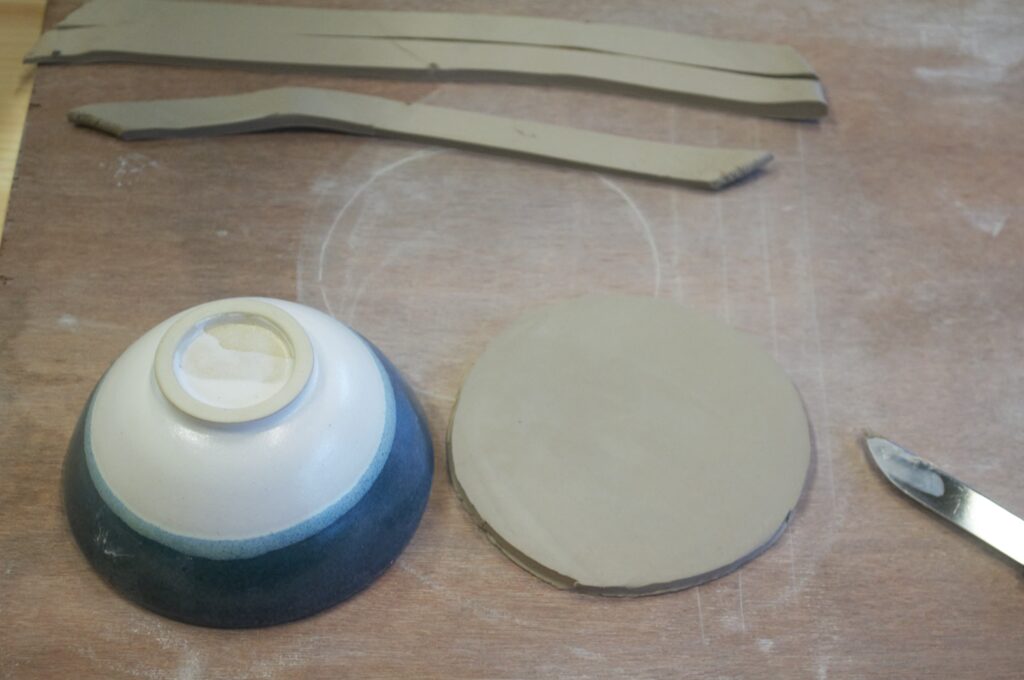
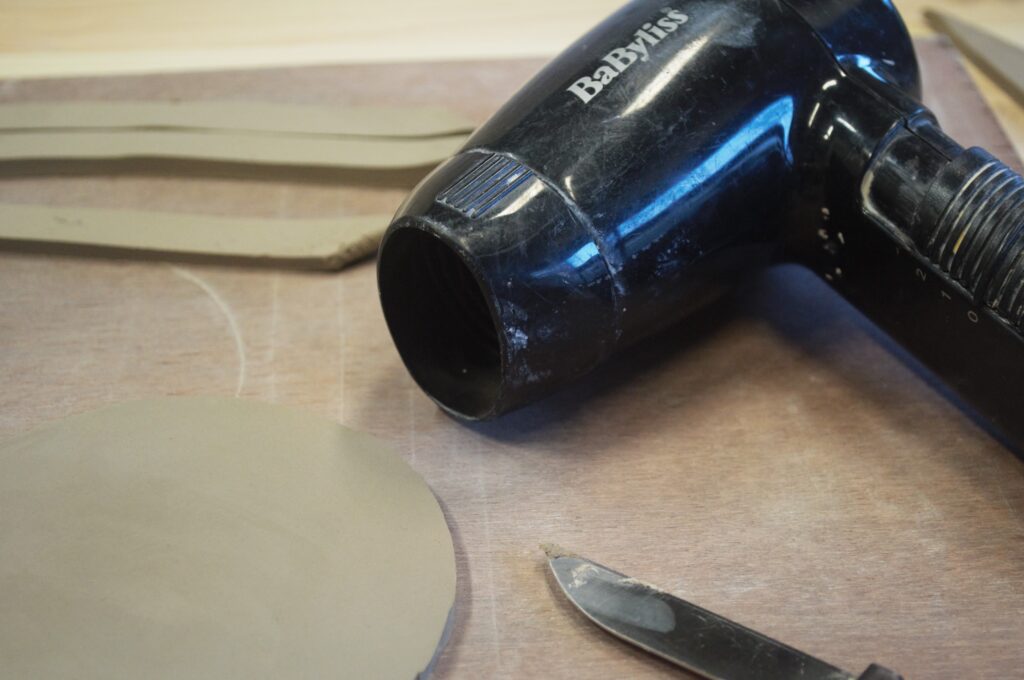
Use your rolling pin to make an even slab of clay on your board. The clay will stick to it if your work surface doesn’t absorb water. You can use an old newspaper between the clay and the cutting board to prevent this problem. Once you’ve rolled your slab you can cut out your main parts: a circle and a few narrow strips (about 2 cm wide). Now you use your blow dryer to dry the circle slightly, until it’s just firm enough to hold it’s shape when you try to bend the rim. Don’t blow dry the strips of clay, they need to stay flexible.
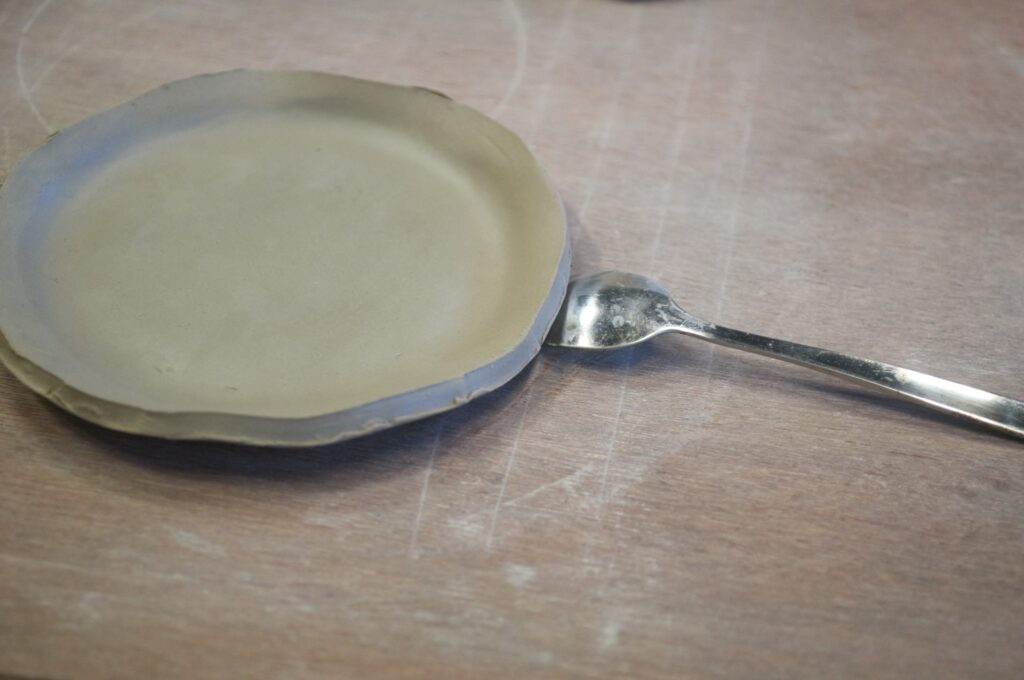
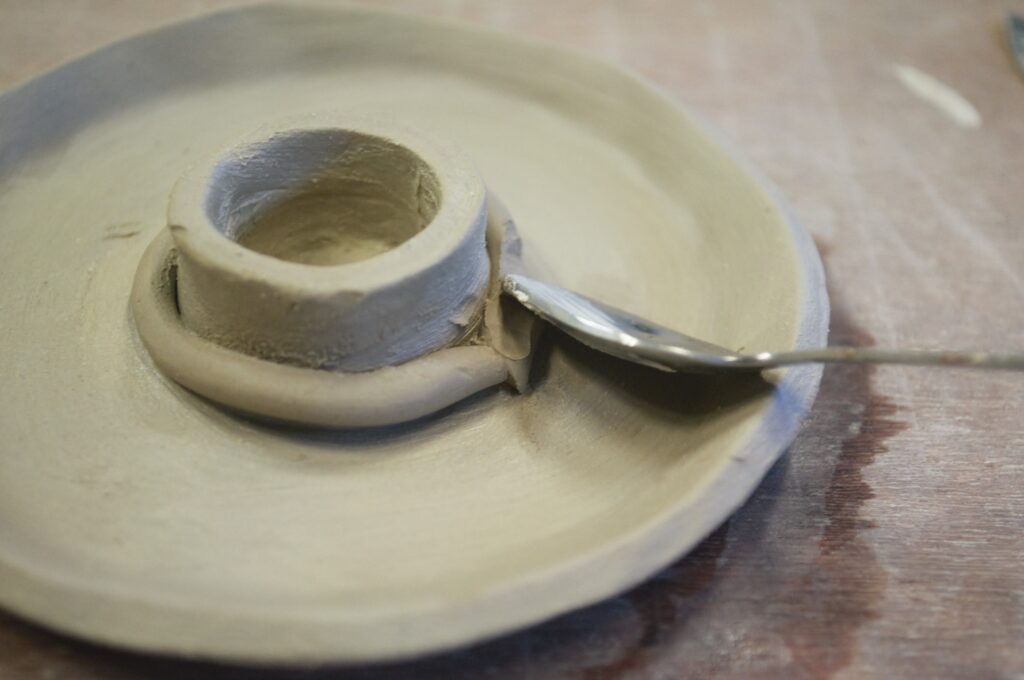
Now you’re ready to shape the base of the candlestick holder. Use a spoon with the convex side up and slide it about a centimeter underneath the edge of your circle. Use your finger to create counterpressure on the inside so only the rim will curve. Rotate the circle like this a couple of times, until you have an evenly curved edge.
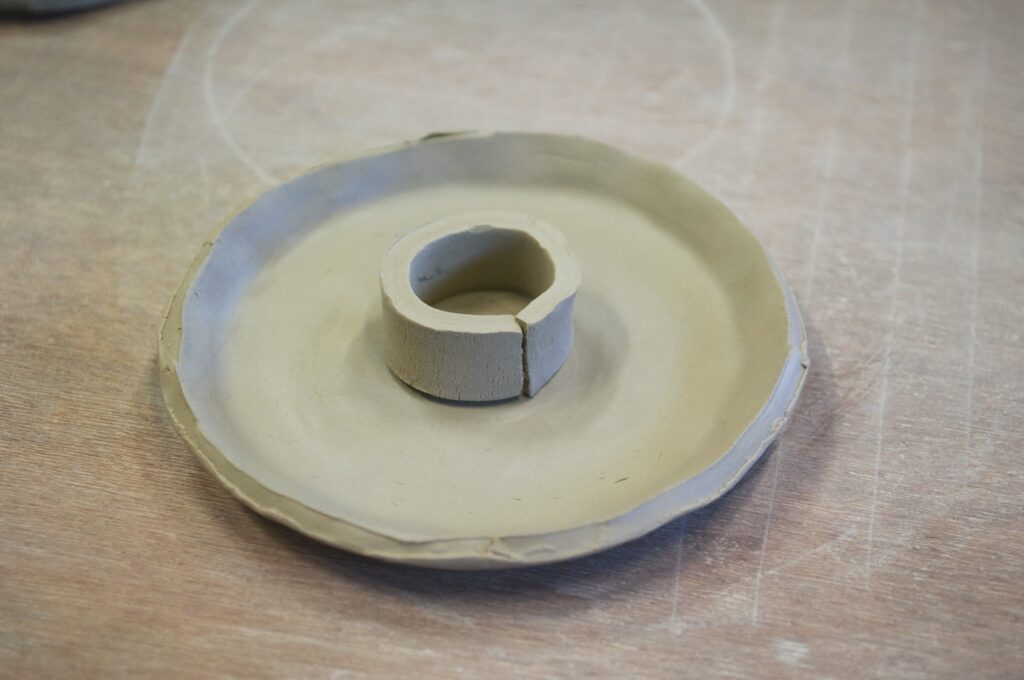
Next we can add the ring that will hold the candle. Use one of your strips of clay to make this. Cut off a piece of the strip and bend it into a ring with the right size. Most standard candles are about 20-22 mm across (or look this up for where you live), so use this as the size for the inside of your ring. If the packaging of the clay states that the clay will shrink upon drying you need to make the ring slightly bigger.
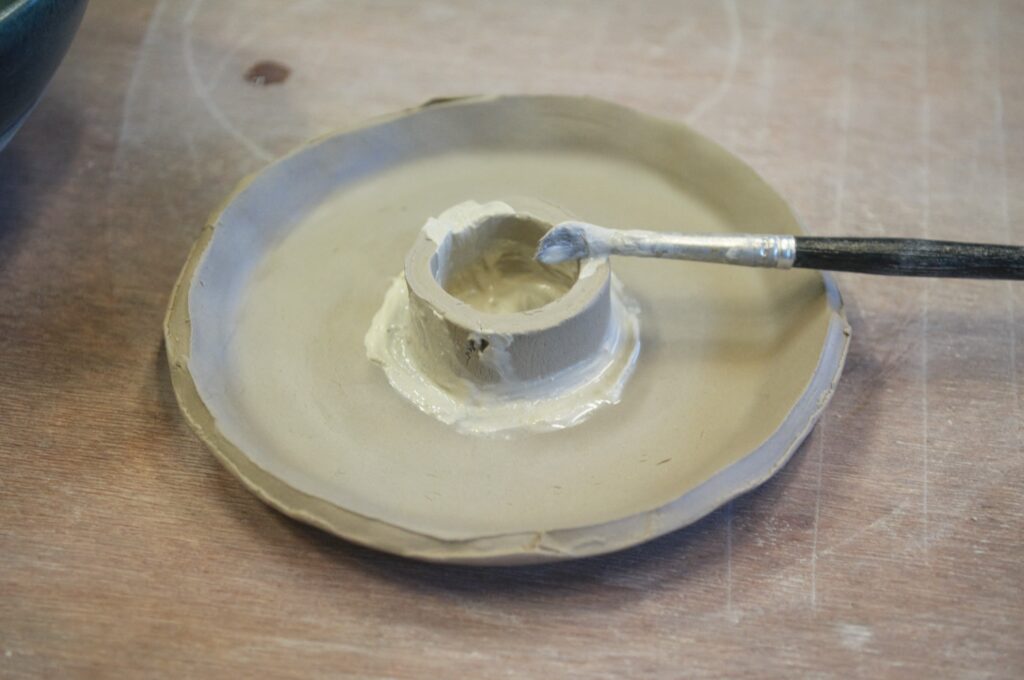
The ring needs to be attached to the base securely. First, mark where the circle will be placed on the base and wet this with a brush. Then, also wet the bottom of the ring and firmly press this onto it’s place on the base. Now seal of all seams with a wet brush, don’t forget the inside of the ring. Roll a thin roll of clay and place this around the ring. Firmly press this into place with the convex side of a teaspoon and smoothen it out with a wet finger, to create a even transition between the ring and base. There should be now visible seams after doing this.
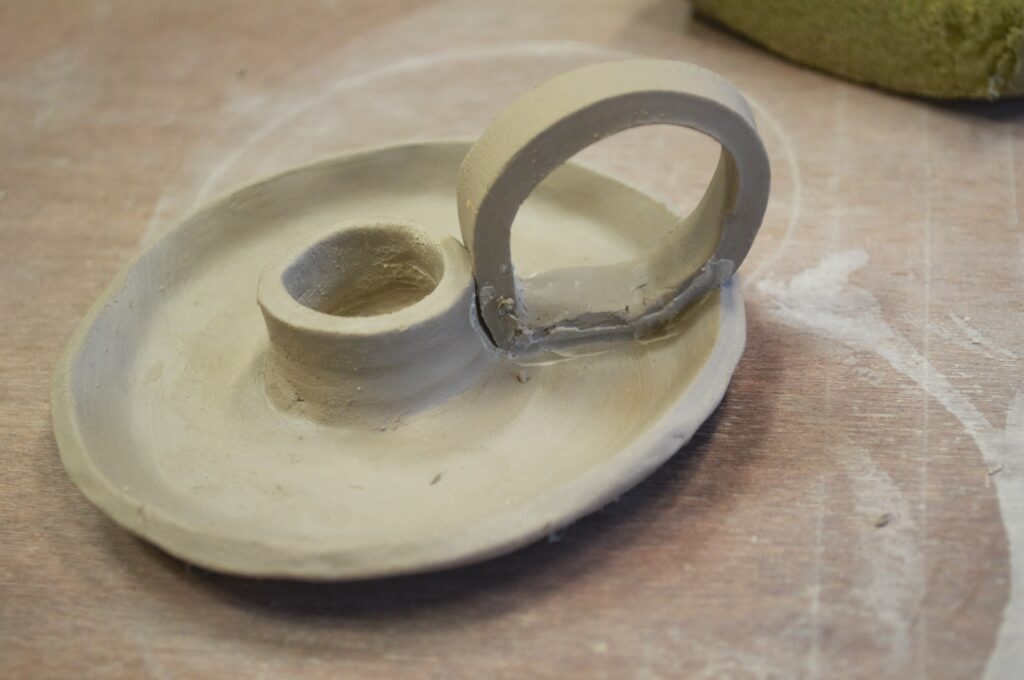
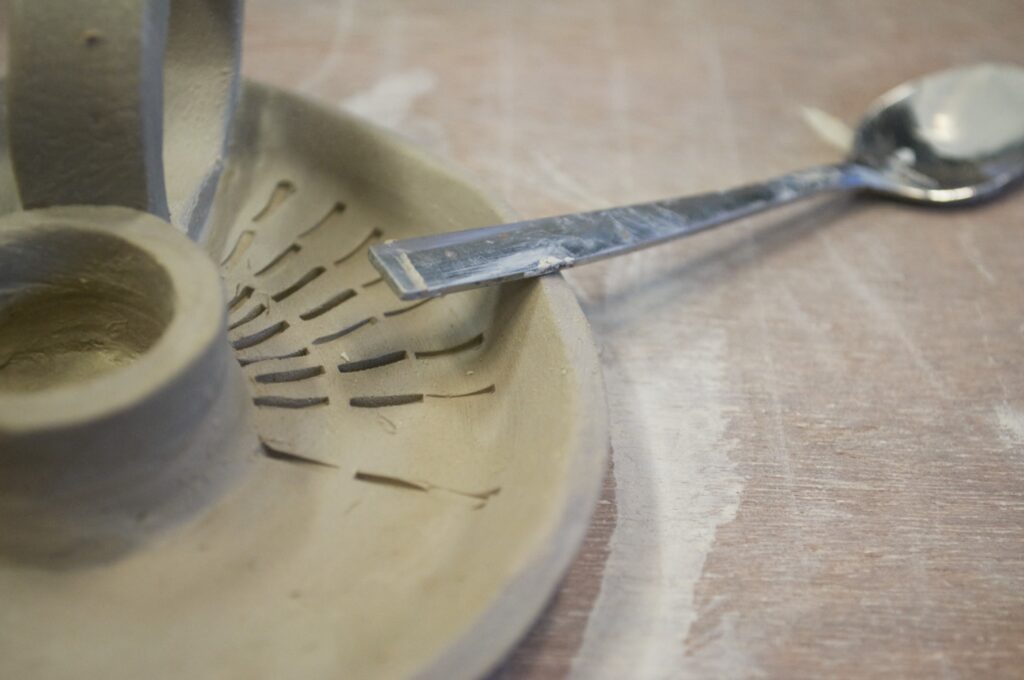
Now you can start decorating the candlestick holder at your own preferences. With your remaining strips of clay you can, for instance, create a handle. Stick this to the holder in using the same techniques I described above, for a secure fit. You can use all kinds of tools or kitchen utensils to decorate your piece. I used the back end of a teaspoon to create a stripy pattern, but anything is possible. Check out my blog about creating a garland with stars for more ideas for decorating the surface of your clay.
Once you’ve finished the decorations it’s time to remove any last uneven or messy parts. With a moist sponge you can smoothen out most irregularities, you can use a knife to tidy up the edges if you want.
Now it’s time to let the candlestick holder dry and then it’s ready to go!